Restaurant Layout: A Step-by-Step Guide to a Profitable, Welcoming Dining Room
- A good restaurant layout balances smooth service, public-assembly rules, and guest comfort. Plan roughly 60% of the floor for dining and 25 to 35% for the kitchen, then finish with a clear visual identity.
- This guide covers layout steps, space split, safety rules, dining comfort, brand identity, and common mistakes.
Restaurant layout means organizing the dining room, kitchen, and support spaces so service runs smoothly, rules are met, and guests want to come back. Think in this order: the floor plan, compliance, comfort, then identity. At Helioneon we make custom neon signs that help brand these spaces, and this guide is for operators, designers, and architects planning a restaurant layout.
A poorly planned restaurant costs you every day: servers crossing paths, lost tables, a noisy room, or décor nobody notices. A well-thought-out plan, by contrast, adds covers and cuts service time. With more than 500 neon signs delivered, many of them for restaurants, bars, and hotels, we see a lot of layout plans. Here is the method that shows up again and again in successful projects, from the first sketch to the signature wall.
What makes a good restaurant layout?
A strong restaurant layout meets three needs at once: friction-free service, public-occupancy rules, and an atmosphere that fits the concept. If any one of those is missing, the room pays for it quickly in sales or in guest reviews.
Start with the concept, not the furniture. A 120-seat brasserie, a neighborhood bistro, and a fine-dining room do not share the same table density, kitchen, or lighting. The concept sets average check, meal length, and turns, and that trio drives the plan.
- Functional: short paths between kitchen, pass, and dining room
- Compliant: fire safety, accessibility, and food hygiene built into the plan
- Comfortable: spacing, acoustics, and light matched to meal length
- Distinctive: a look guests recognize and want to share
For an architect or designer, this framing avoids a classic trap: drawing a beautiful dining room around a kitchen that is too small. Build the plan around flow first, then dress a room that already works. And when the budget tightens late in the build, technical line items rarely get cut first; atmosphere often does, which is why you should lock those choices in early.
What steps does restaurant layout follow?
Restaurant layout usually follows six steps: define the concept, survey the space, draw the zone plan, confirm compliance, choose equipment, and finish with atmosphere. Skip a step and you almost always reverse course later, at higher cost. To go further, our guide to sensory marketing shows how to combine light, music and scent.
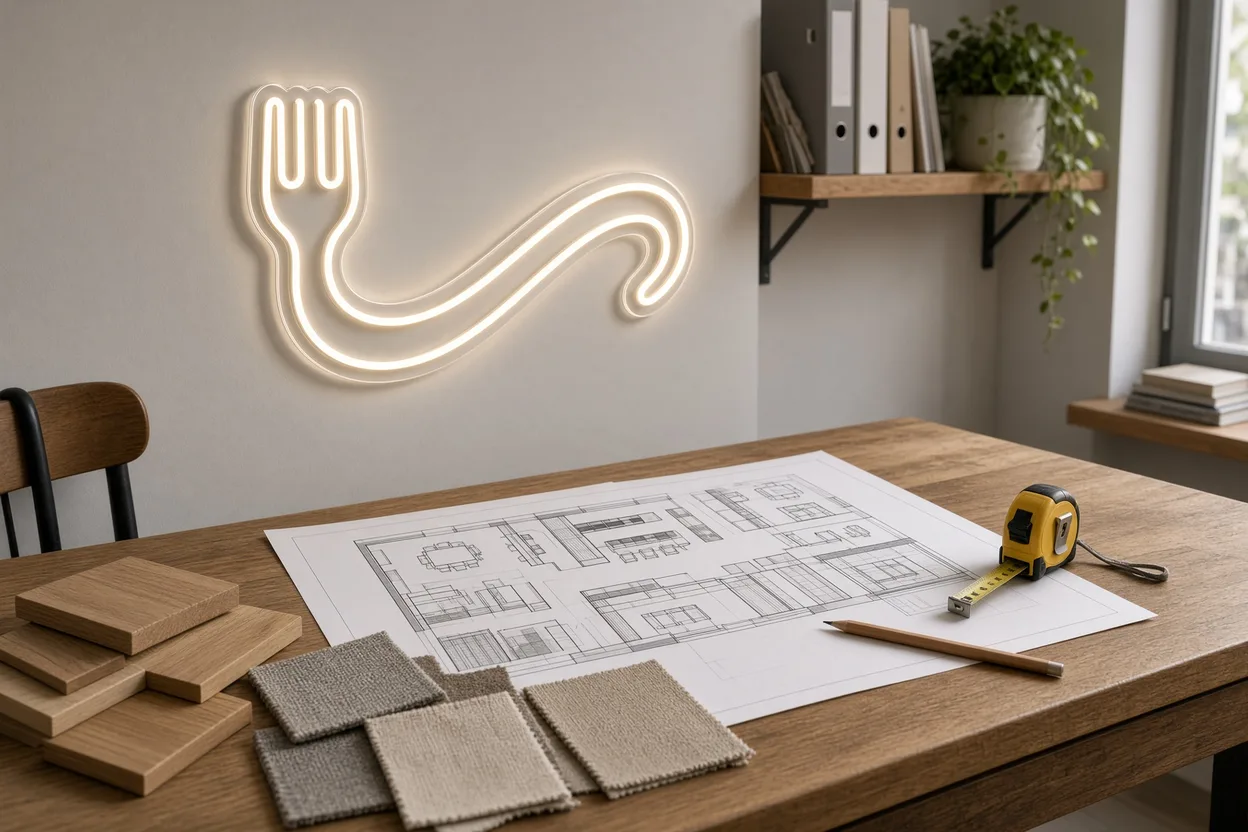
- Concept: cuisine, target covers, average check, and service pace
- Space survey: areas, ceiling heights, existing utilities, exhaust, and delivery access
- Zone plan: dining room, bar, kitchen, dish pit, storage, restrooms, and staff lockers
- Compliance: occupancy, emergency exits, accessibility, hygiene
- Equipment: kitchen, furniture, acoustics, lighting
- Atmosphere: materials, colors, signature wall, and light features
The space survey deserves special care. A hood that cannot vent to the roof, a duct that is too tight, or a poorly placed delivery door can undo the whole project. That is why pros check these points before sketching the dining room, and not after the lease is signed.
On the administrative side, work in a place of public assembly often needs a municipal permit, and sometimes a building permit if the facade or use of the space changes. For an operator, the simplest path is to have the project lead lock the timeline early, because those lead times drive the opening date. Have an architect or local authorities validate the plan before you order furniture.
How do you split space between dining room, kitchen, and back of house?
A common rule of thumb in restaurant layout is to give about 60% of the floor area to the dining room and 25 to 35% to the kitchen, with the rest for support spaces. In the dining room, plan roughly 1 to 1.5 m² per cover in traditional service, and up to 2 m² in fine dining for more comfort.
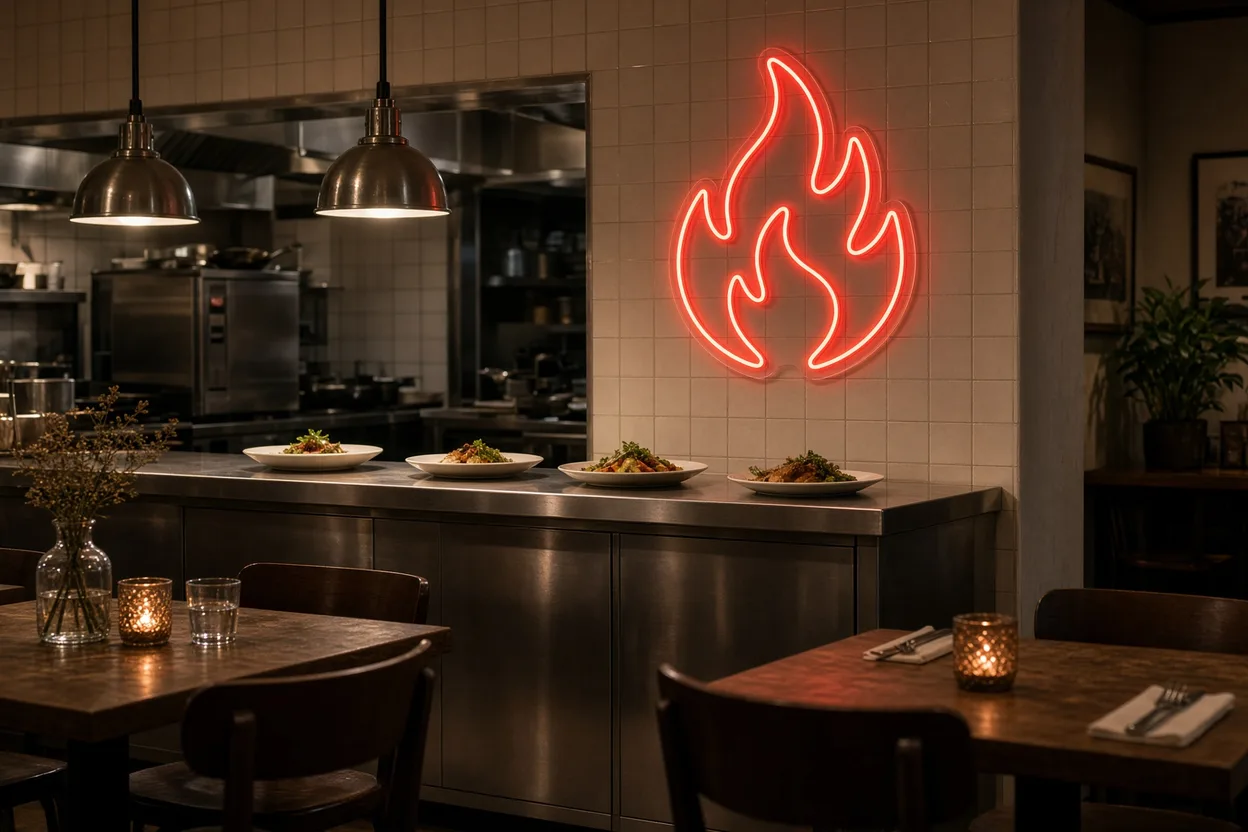
These ratios are orders of magnitude only. A restaurant that works a lot of fresh product needs more prep space, while a quick-service concept shrinks the dining room in favor of the counter and takeout. What matters is sizing the kitchen for the covers you actually plate at peak, not for an average day.
- Dining room: about 60% of the floor area, 1 to 2 m² per cover by concept level
- Kitchen and dish pit: 25 to 35%, laid out in separate zones
- Storage: dry, refrigerated, and frozen, matched to the menu
- Support: guest restrooms, staff lockers, ventilated trash room
Bar and pass placement matter as much as square footage. Set between kitchen and dining room, they shorten server routes and become a viewpoint for guests. That is often where a branded light feature goes, because it is visible from almost every table.
Restaurant layout: which rules should you follow?
A restaurant is a place of public assembly. It falls under national and local fire safety rules (occupancy load, emergency exits, smoke control), accessibility requirements, and food hygiene standards. Exact thresholds and categories vary by jurisdiction, so have an architect or the local authority review your plan rather than relying on generic figures.
Occupancy load drives exit count and width, alarm systems, and related life-safety equipment. Accessibility adds path-of-travel, accessible seating, and accessible restrooms, with details that differ for new builds and existing spaces. Amplified music may also face local sound limits. Build these constraints into the first plan, not as a late fix.
- Fire safety: occupancy, exits, and smoke control as required for public assembly
- Accessibility: clear paths, accessible seating, and an accessible restroom
- Hygiene: forward flow in the kitchen, from dirty to clean without cross traffic
- Sound: amplified music may be capped under local rules; confirm limits early
These constraints do not kill creativity; they steer it. A signature wall must not shrink an exit path, and a decorative fixture must never block an emergency light. Low-voltage pieces, such as a 12V LED neon, also make integration easier in a room open to the public.
How do you design the dining room for guest comfort?
Dining room comfort rests on four dials: table spacing, acoustics, light, and seat variety. A comfortable room is not always larger; it gives each table a sense of privacy, which lengthens stays and raises average check.
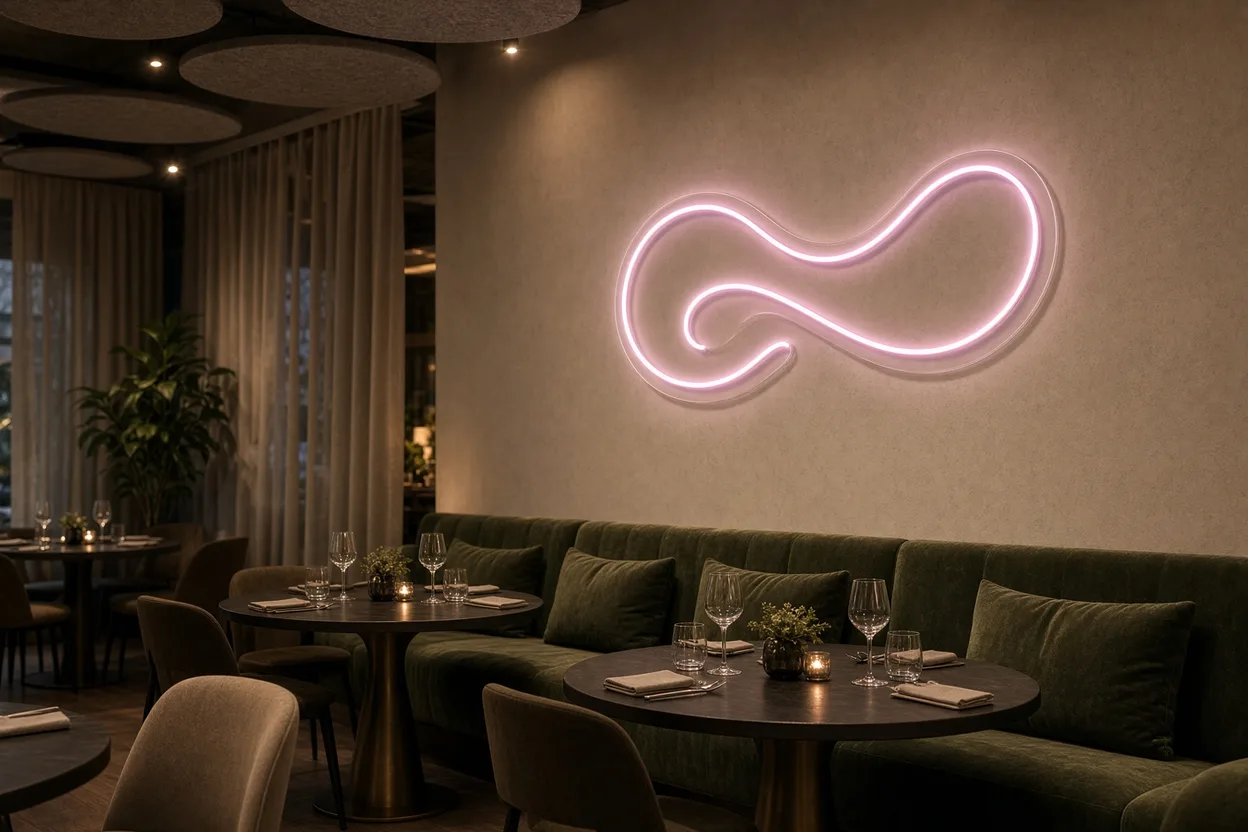
Acoustics are the most often ignored. Trendy hard finishes (concrete, tile, glass) bounce sound, and a full room gets tiring fast. Fix it with ceiling absorbers, textiles, upholstered banquettes, or greenery. Light works in layers: soft general light, points on the tables, and one or two accent pieces that add depth, as covered in our guide to architectural lighting principles.
- Spacing: a comfortable aisle between chair backs for service
- Variety: twos, fours, banquettes, and standing spots matched to how guests use the room
- Acoustics: ceiling absorbers, textiles, and plants against reverberation
- Light: warm white around 2,700 K for dinner, dimmable by service
Seat variety also supports revenue. Twos you can join for groups, a banquette along the wall, and a few bar seats help fill the room no matter how reservations land. Each zone can carry its own mood: quieter in the back, livelier near the counter.
How do you build a strong visual identity in restaurant design?
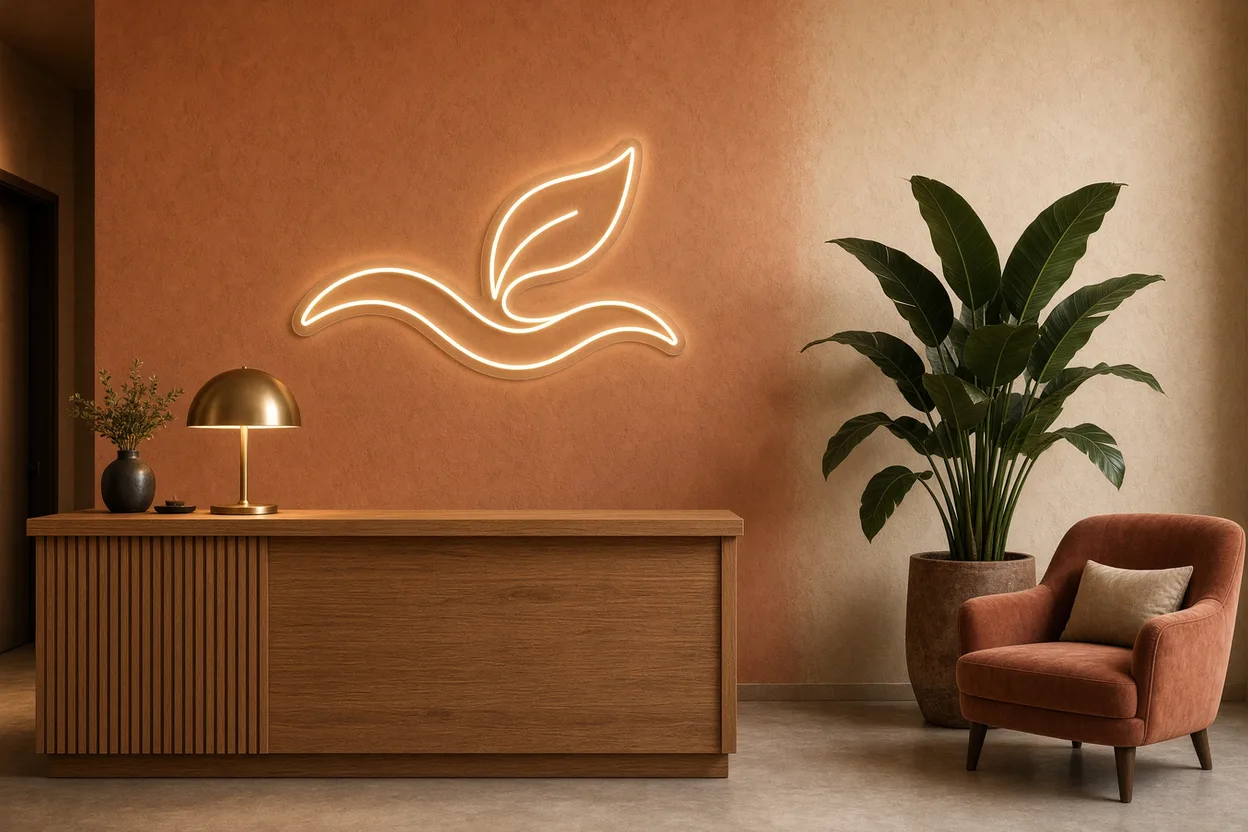
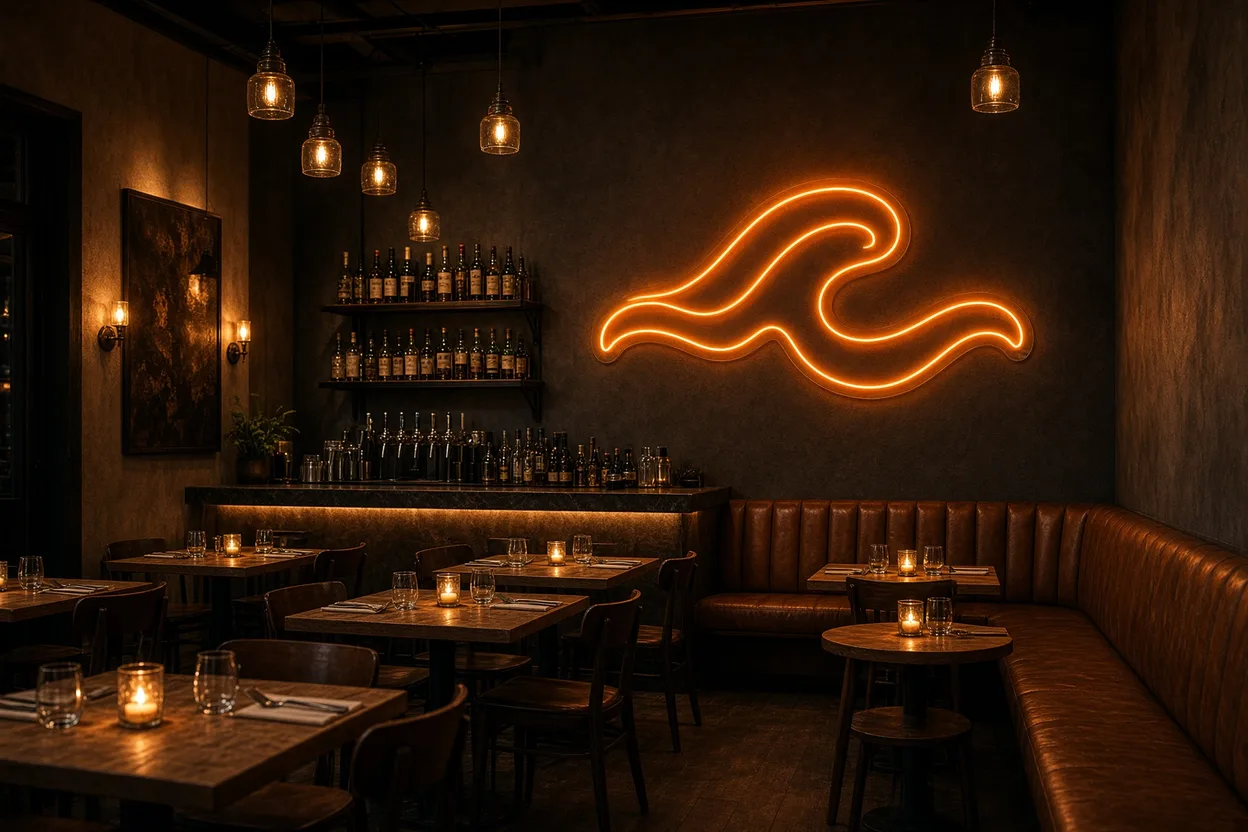
A restaurant’s visual identity starts with one strong, recognizable feature, then carries through materials, colors, and signage. A signature wall, visible from the entrance and from most tables, is often enough to give the room a personality and make it photogenic.
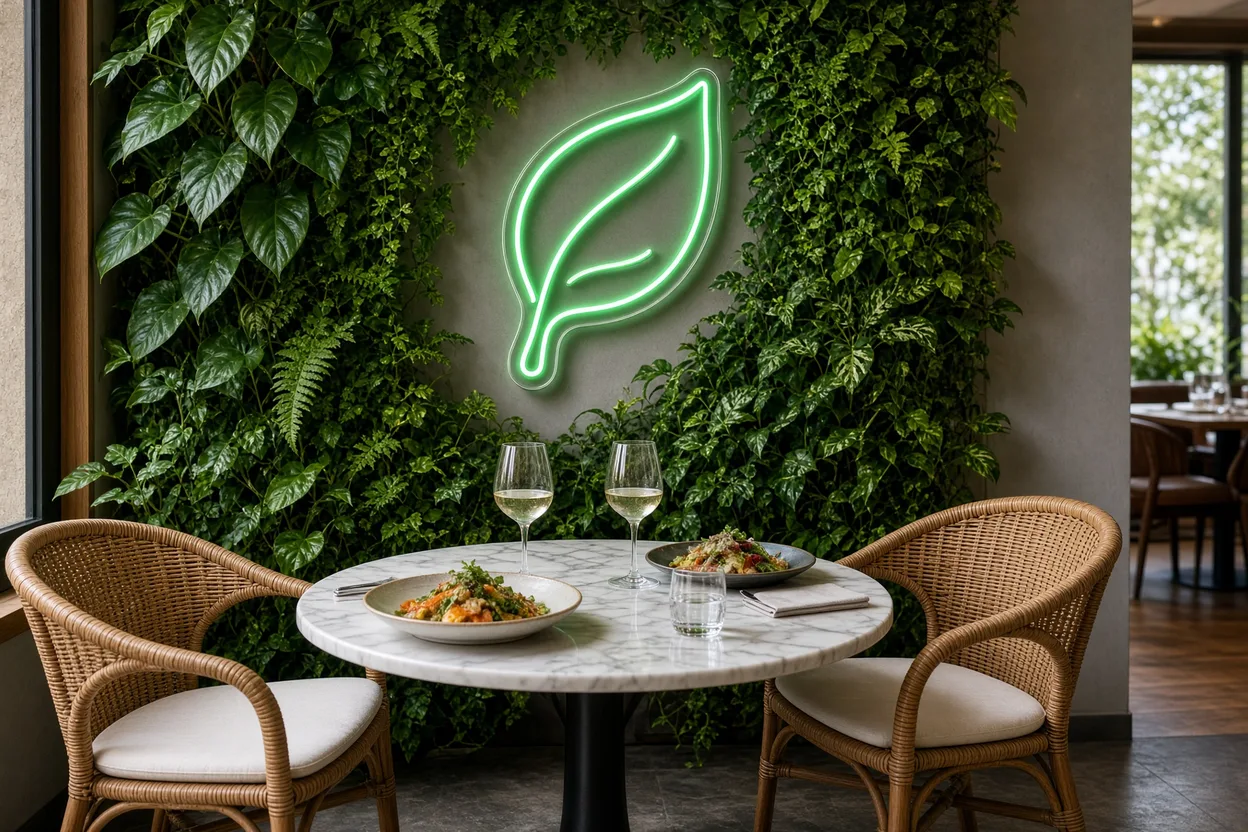
The right feature depends on concept and budget. The table below compares options hospitality designers use most, by role in the room and upkeep.
| Feature | Role in the room | Upkeep |
|---|---|---|
| Custom LED neon | Logo or signature line, photo moment | Very low, 100,000 hours |
| Living wall | Freshness, natural mood | Regular watering and trimming |
| Panoramic wallpaper | Immersive décor on a large wall | Low, sensitive to impact |
| Designer pendants | Rhythm over the tables | Shade cleaning |
| Mural | One-of-a-kind piece tied to place or chef | Low, occasional touch-ups |
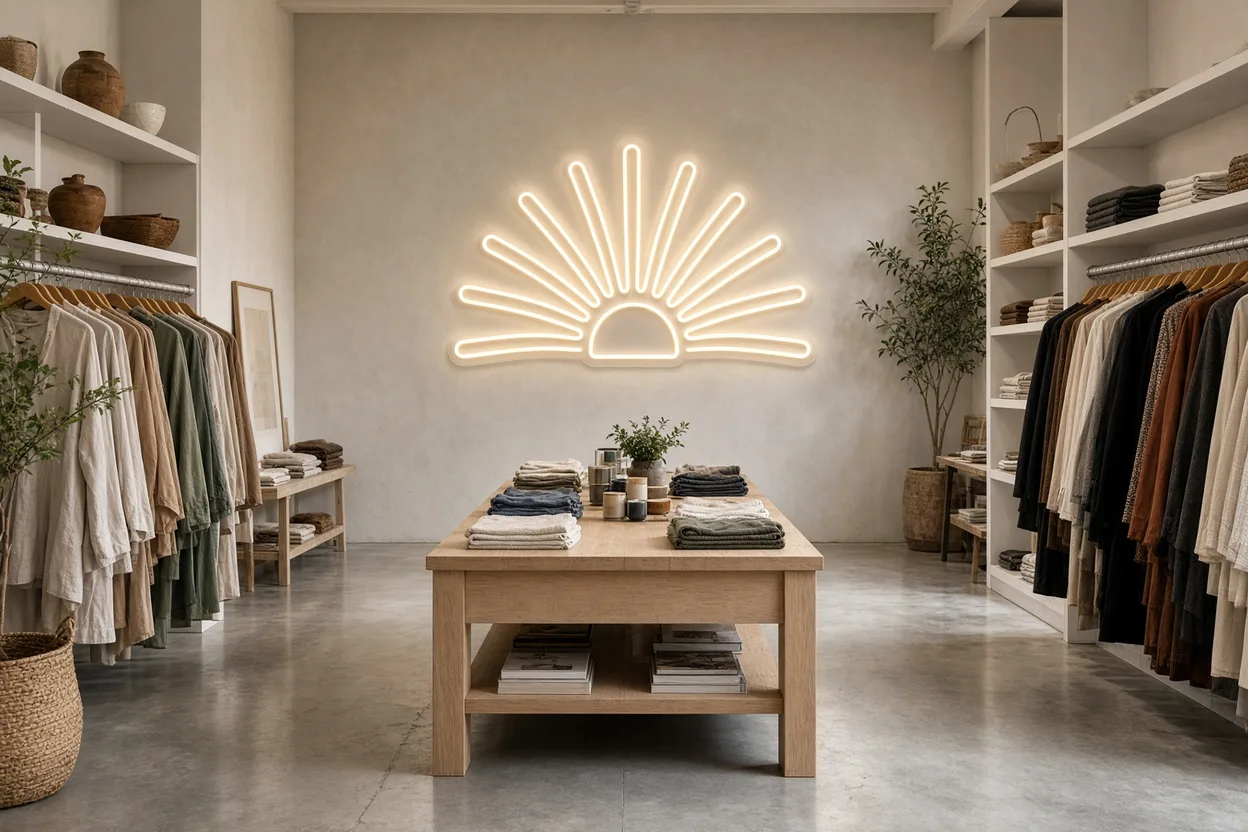
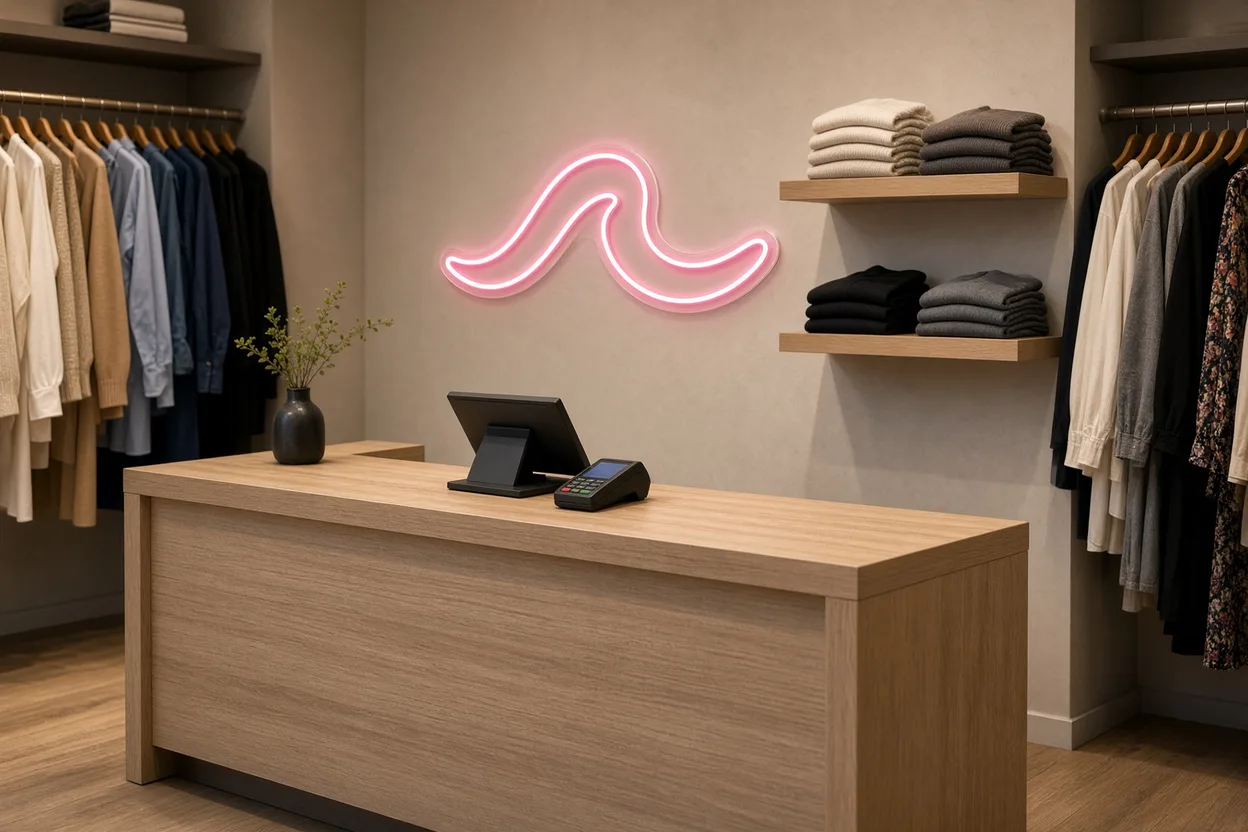
LED neon does two jobs at once: it decorates and it brands. It can match logo type exactly, runs on 12V, stays cool to the touch, and draws only a few watts, which suits a room open late. For related commercial uses, see our guide to neon signs for store windows.
- Behind the bar: the logo visible from the room and the street
- Back wall: a line that draws the eye and invites people in
- Photo corner: a backdrop built for social posts
- Patio or facade: a weather-rated IP65 version readable from a distance
Tie that feature into the rest of the guest path: menus, restroom signs, window display. A coherent identity also helps people find their way, a point we cover in our guide to store signage design.
Restaurant layout: which mistakes should you avoid?
The costliest mistake in restaurant layout is undersizing the kitchen to squeeze in more dining seats. Other frequent errors are crossing traffic paths, ignoring acoustics, light that is too cool or too harsh, and décor bolted on at the end with no link to the concept.
Many of these come from a plan drawn too fast, before anyone watches a real service. A server who walks the long way around the room to reach the pass loses dozens of trips per shift, and guests feel it. Test the plan on paper, simulating a rush, before you order furniture.
- Kitchen too small: slow service as soon as the room fills
- Crossed flows: servers, guests, and deliveries on the same path
- Noisy room: guests who cut the meal short
- Wrong light: a cold or glaring mood at dinner
- Décor without a thread: a place nobody remembers
To cut risk, have someone who has worked both floor and kitchen review the plan. That frontline eye spots a bad pass or an unserviceable table in minutes. And plan power for decorative features from day one, so you are not running surface conduit after the walls are painted.
Frequently asked questions about restaurant layout
How many m² do you need per cover in a restaurant?
Plan about 1 to 1.5 m² per cover in the dining room for a traditional restaurant, and 1.5 to 2 m² in fine dining, where space between tables is part of the experience. These figures cover the dining room only. The kitchen typically takes 25 to 35% of total floor area. Fire occupancy is calculated separately under local public-assembly rules; have your architect or authority confirm the load for your jurisdiction.
What rules apply when fitting out a restaurant?
A restaurant is a place of public assembly subject to national and local fire safety rules (occupancy, emergency exits, smoke control), accessibility, and food hygiene. In the kitchen, hygiene follows the forward-flow principle, from dirty to clean without cross traffic. Amplified music may face local sound limits. Work often needs municipal approval. Do not rely on generic numbers: have an architect or local authorities validate the plan.
Do you need an architect to fit out a restaurant?
It is not always mandatory, but it is strongly advised whenever work touches structure, the facade, or life-safety and accessibility compliance. An architect or hospitality specialist knows the safety and access rules, prepares permit filings, and coordinates trades. When a building permit is required, using a licensed architect is often mandatory. In every case, validate the plan before you order furniture.
How do you make a restaurant Instagram-friendly?
Create one strong, easy-to-photograph feature where guests naturally pause: a signature wall, a neon line tied to your concept, a mural, or a living backdrop. Light that feature carefully, because a good photo depends mostly on lighting. A warm white LED neon, or one in your brand color, works well: it flatters faces while putting your identity on every shared shot.
What lighting should you choose for a restaurant dining room?
Use layered light rather than one powerful ceiling fixture: soft general light, points over the tables, and one or two accent pieces that add character. Favor warm white, around 2,700 to 3,000 K, and plan dimmers to shift from lunch to dinner. A decorative LED neon rounds out the set: it creates a focal point, draws a few watts, lasts 100,000 hours, and does not heat the room.
A successful restaurant layout starts with the concept, organizes flow before décor, builds rules into the plan, and finishes with an identity guests remember. To brand your room, explore our custom neon signs for restaurants, or send your plan and logo through our contact page: you get a free 3D mockup within 24 hours. For path-of-travel and accessibility details, have your architect or local authority confirm the rules that apply to your site.
Your custom neon, designed for free in 24 h
- Describe your ideaA text, a logo or a simple sketch. It takes one minute.
- Get your mockup and priceWithin 24 h by email, no commitment.
- Approve, we make itFree express delivery in 7 to 10 days, set up in 3 minutes.
- Mockup and price within 24 h, no commitment
- Free express delivery, received in 7 to 10 days
- 3-year warranty, set up in 3 minutes
Get your free mockup

Guillaume Schlupp
Founder of Helioneon
Over 10 years of entrepreneurship in premium interior design. 500+ LED neons delivered across 13 countries under Helioneon and Light Genius. Leads product strategy, design and professional accounts.