Installation guide

Install your neon in 3 minutes

No need to be a DIY expert. Every Helioneon neon comes with a complete kit and an illustrated guide. Follow our simple steps for a perfect result.

Complete kit included 3 min installation No special tools
Your kit

Everything is included in the box

Every custom neon is delivered with everything you need for a quick, clean installation.

LED neon

LED neon

Your made-to-measure creation, tested and carefully packaged

Screws & wall anchors

Screws & wall anchors

Wall fixings suitable for drywall, concrete or wood

Spacers

Spacers

To create the floating effect and the light halo on the wall

Adaptor

Adapter

12V low-voltage power supply, plugs into a standard outlet

Step by step

Installation in 5 simple steps

Follow our illustrated guide and your neon will be on the wall in under 3 minutes.
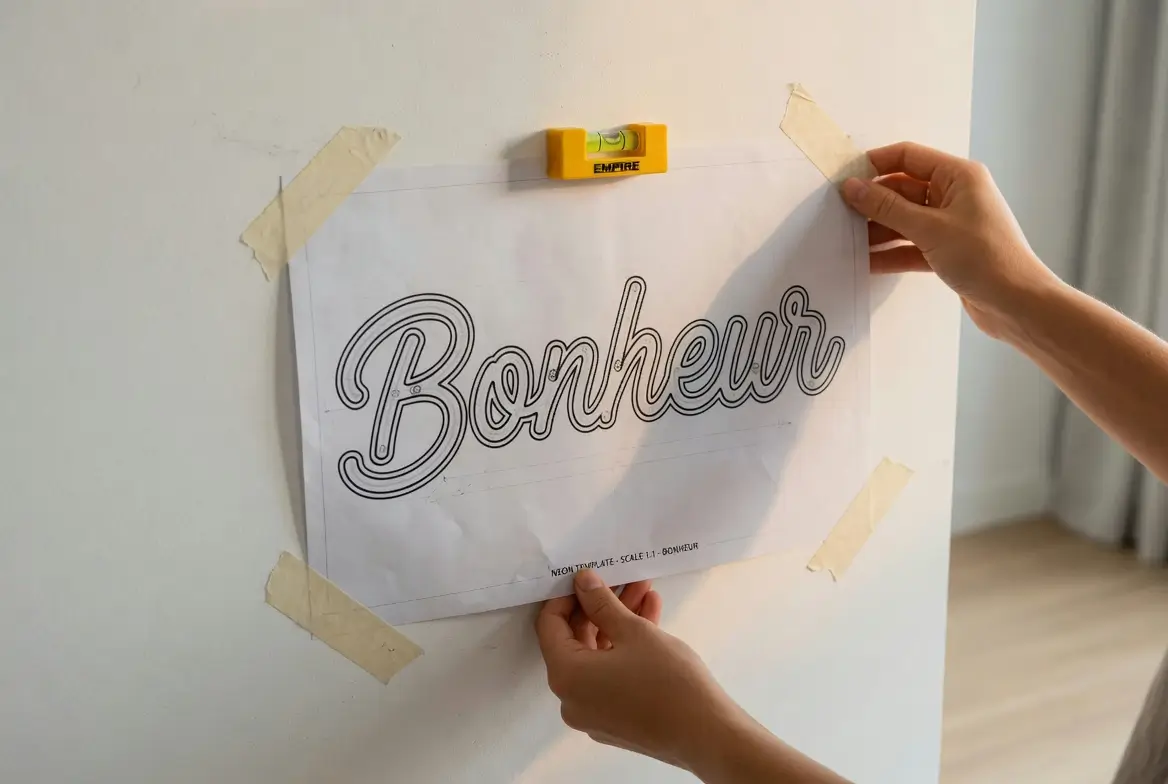
Positioning the paper template on a white wall to install a Helioneon LED neon
01

Position the template

Use the paper template provided to mark the exact position of your neon. Stick it to the wall with tape and check the alignment with a level.
Tip: place your neon at eye level (around 59 in (150 cm) from the floor) for the best visual impact.
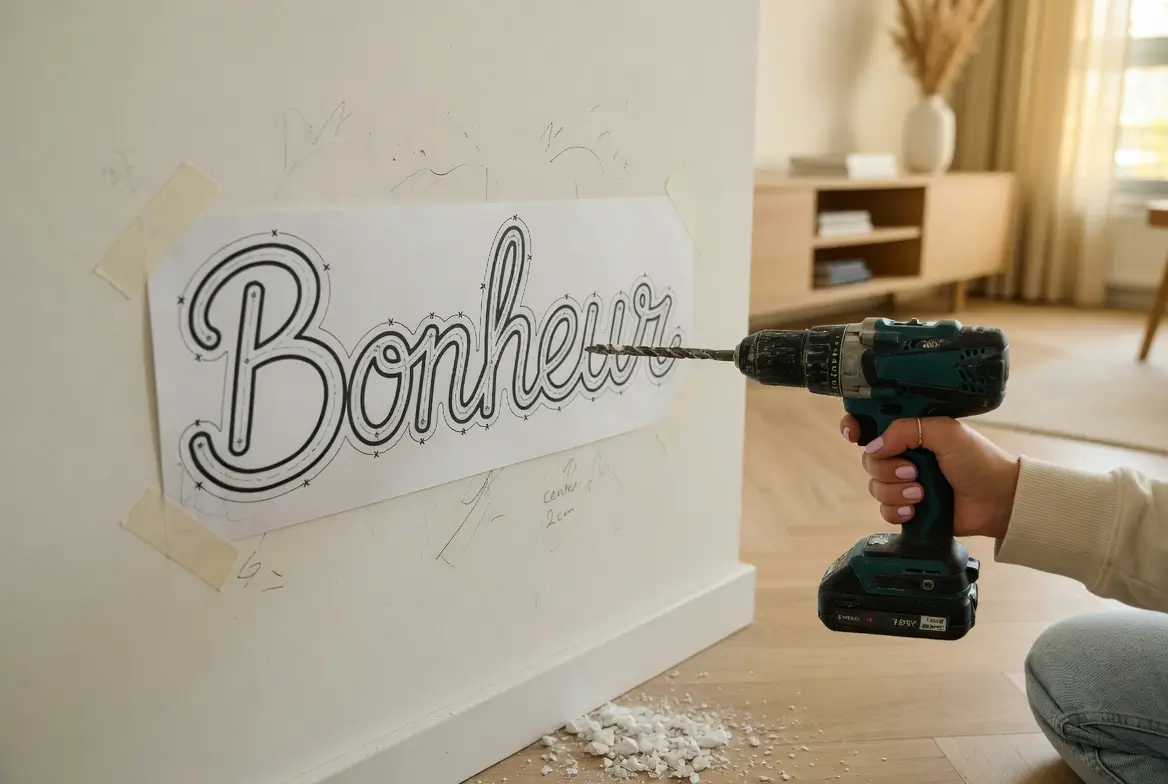
Drilling the fixing points into the wall with a cordless drill for an LED neon
02

Drill the fixings

Mark the fixing points through the template, then drill with a bit suited to your wall type (wall anchors supplied for drywall and concrete).
Tip: on a drywall wall, use the Molly anchors supplied for a perfect hold.
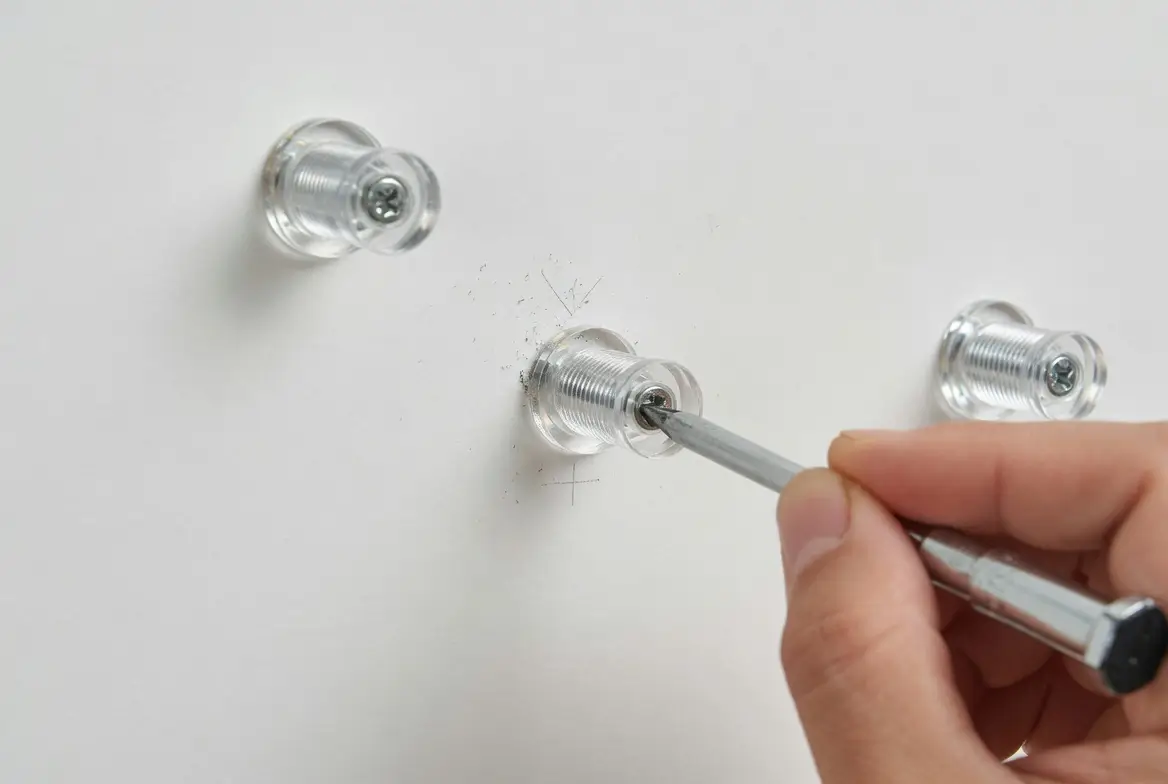
Fitting the clear spacers into the wall to create the floating effect of the LED neon
03

Fit the spacers

Screw the spacers into the wall anchors. They create the gap between the wall and the neon, essential for that signature light halo.

Hanging the LED neon on the wall spacers with the clear acrylic Helioneon backing
04

Hang your neon

Slide the acrylic backing onto the spacers and tighten gently. Your neon is now securely fixed to the wall.

Bonheur LED neon lit up with a warm white light halo on a white wall, final Helioneon installation result
05

Plug in and admire

Connect the 12V adapter to your neon then plug it into a standard outlet. Switch on, adjust if needed with the dimmer (optional), and enjoy the result.

Tip: run the cable along a baseboard or behind a piece of furniture for a clean finish.
Video tutorial

Watch the installation on video

Our 2-minute tutorial shows you every step in detail.

Installation step icon
3 years
Warranty included
Installation step icon
100,000h
LED lifespan
Installation step icon
10 to 14 days
Free delivery
Installation step icon
3 min
Easy installation
Our tips

For a perfect result

Choose the right wall

Choose the right wall

Opt for a plain, light-colored wall to maximize the luminous halo. A white or light gray wall gives the best glow effect.

Manage the cable

Manage the cable

Plan the power cable route before fixing. Run it along a baseboard, behind furniture, or use trunking that matches the wall.

Avoid humidity

Avoid humidity

Our standard neons are designed for indoor use. Avoid very humid rooms (shower, sauna). For outdoors, choose our IP65 version.

Frequently asked questions

Installation FAQ

No. Our LED neons run on low voltage (12V) and simply plug into a standard outlet. No electrical work is required. A simple screwdriver is all you need for the fixing screws.
Drywall, concrete, brick, wood… The installation kit includes wall anchors suitable for the most common walls. For fragile surfaces (glass, tiles), contact us for alternative adhesive solutions.
Yes, the spacer system lets you remove the neon easily. You can move it and reinstall it on new fixings in another location.
No. Unlike traditional glass neons, our LED neons do not get hot and use very little energy. You can leave them on safely, even 24/7.
Unplug it, then gently wipe with a soft, dry cloth. Never use chemical or abrasive products. Dusting every 2-3 months is enough to keep its shine.