Install your neon in 15 minutes
No need to be a DIY expert. Every Helioneon neon comes with a complete kit and an illustrated guide. Follow our simple steps for a perfect result.
Everything is included in the box
Every custom neon is delivered with everything you need for a quick, clean installation.
LED neon
Your made-to-measure creation, tested and carefully packaged
Screws & wall plugs
Wall fixings suitable for plasterboard, concrete or wood
Spacers
To create the floating effect and the light halo on the wall
Adaptor
12V low-voltage power supply, plugs into a standard socket
Installation in 5 simple steps
Follow our illustrated guide and your neon will be on the wall in under 15 minutes.
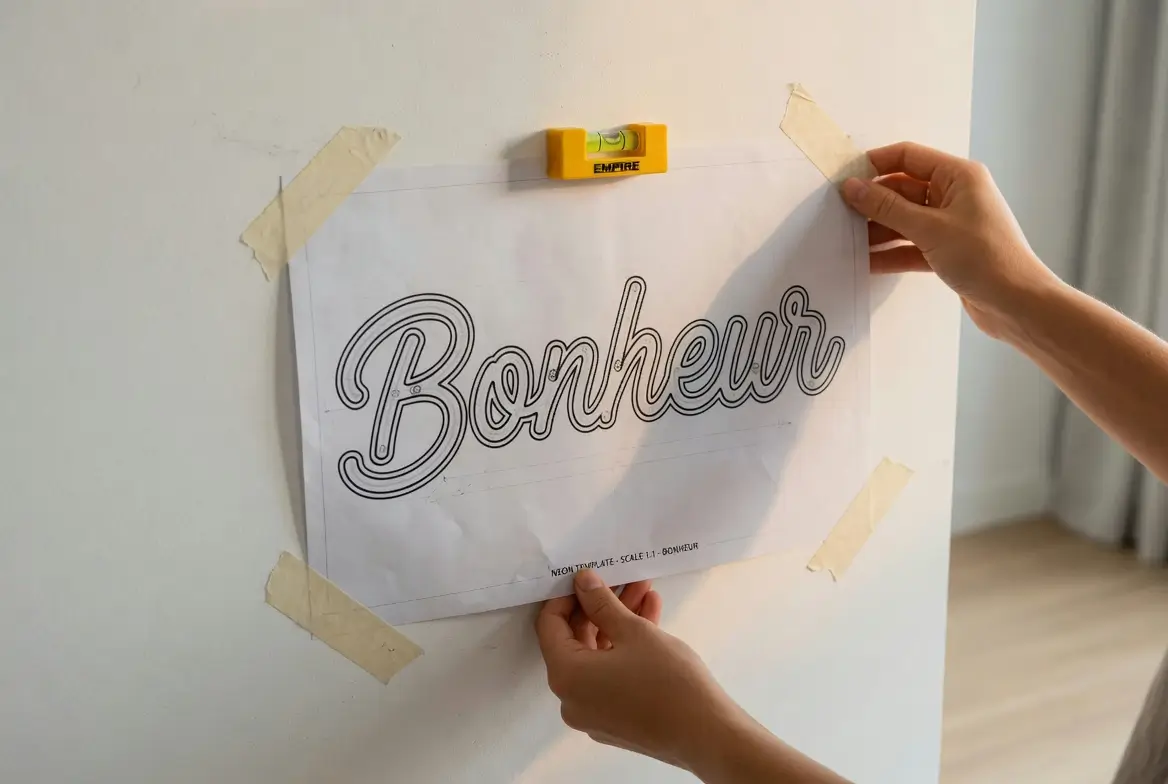
Position the template
Use the paper template provided to mark the exact position of your neon. Stick it to the wall with tape and check the alignment with a spirit level.
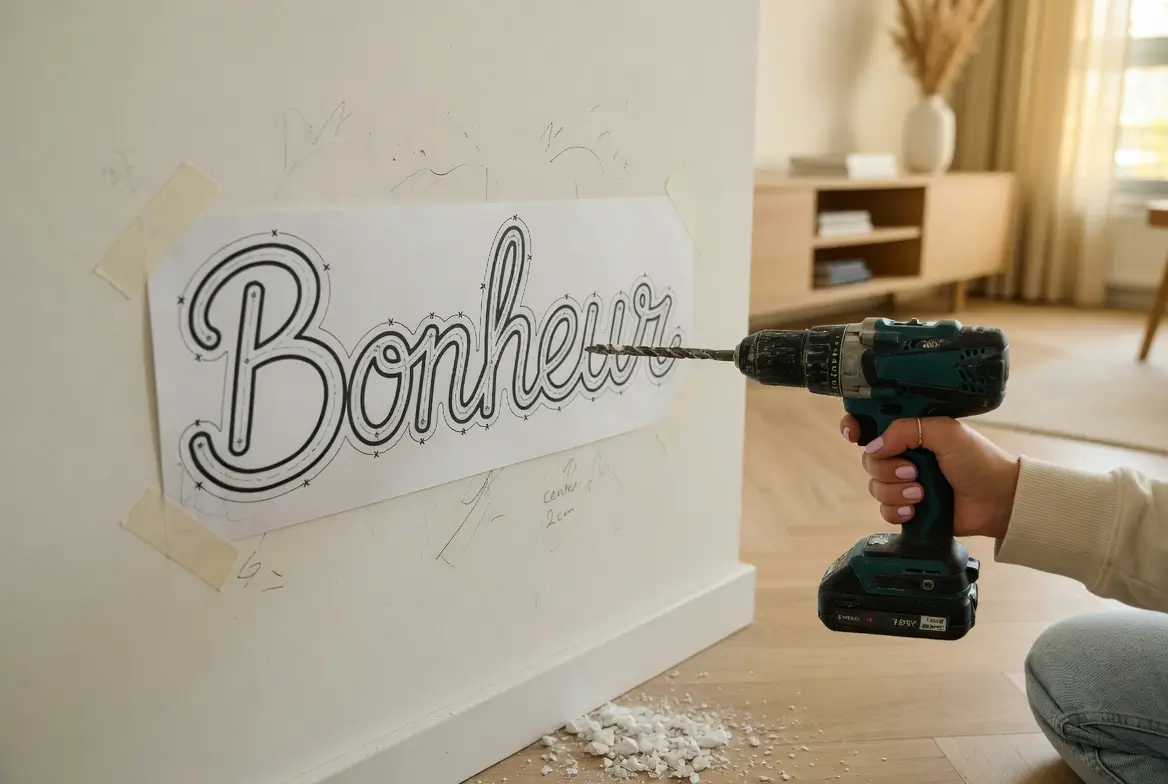
Drill the fixings
Mark the fixing points through the template, then drill with a bit suited to your wall type (wall plugs supplied for plasterboard and concrete).
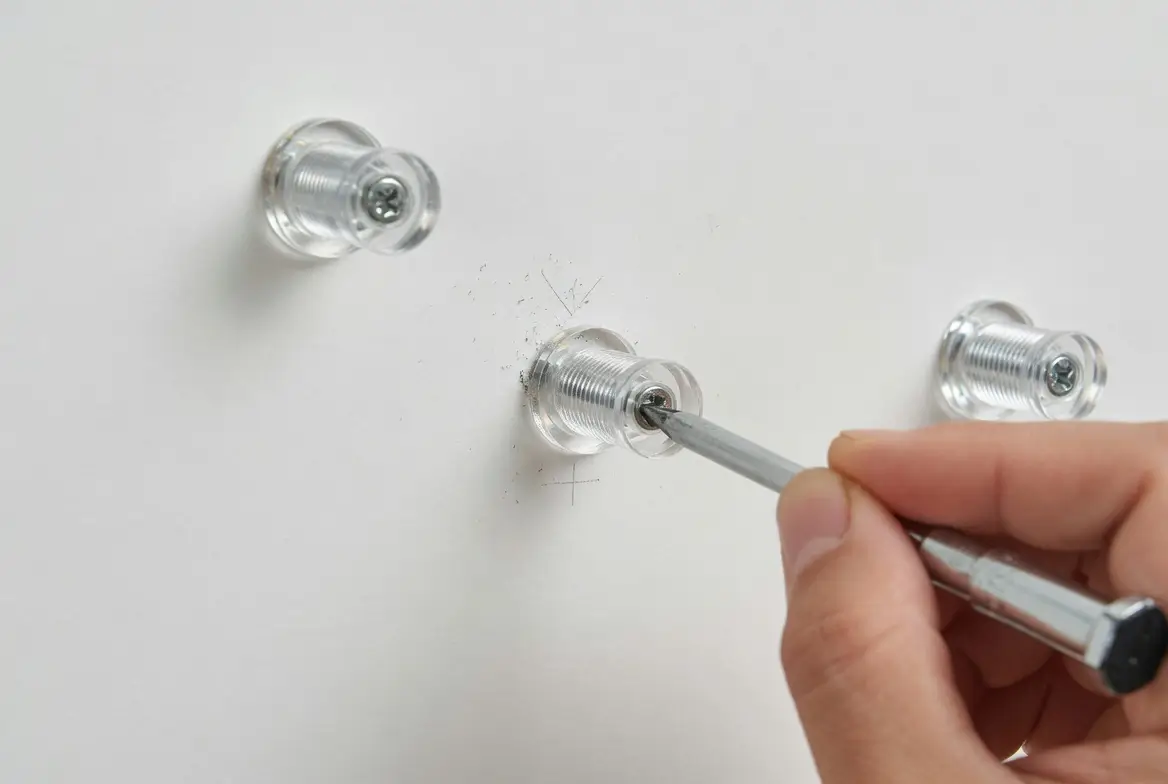
Fit the spacers
Screw the spacers into the wall plugs. They create the gap between the wall and the neon, essential for that signature light halo.

Hang your neon
Slide the acrylic backing onto the spacers and tighten gently. Your neon is now securely fixed to the wall.

Plug in and admire
Connect the 12V adaptor to your neon then plug it into a standard socket. Switch on, adjust if needed with the dimmer (optional), and enjoy the result.
Watch the installation on video
Our 2-minute tutorial shows you every step in detail.
For a perfect result
Choose the right wall
Opt for a plain, light-coloured wall to maximise the luminous halo. A white or light grey wall gives the best glow effect.
Manage the cable
Plan the power cable route before fixing. Run it along a skirting board, behind furniture, or use trunking that matches the wall.
Avoid humidity
Our standard neons are designed for indoor use. Avoid very humid rooms (shower, sauna). For outdoors, choose our IP65 version.